


Gardening for Health
Let Food be Thy Medicine: The Importance of Growing Your Food
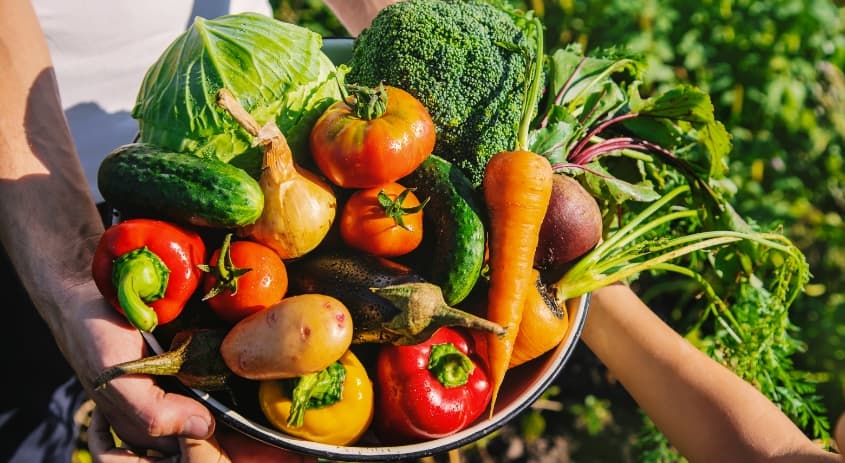
A clean, nutritious diet is essential to developing a long healthy life, free of chronic disease.
The benefits of gardening


Gardening is for all people of all ages! It can be done anywhere, regardless of whether you live in a city, or a 100-acre ranch.
It helps to enrich your life on multiple levels. Growing your own food is an excellent way to help boost physical and mental health and combat chronic disease. Many of the foods we eat daily are filled with preservatives, pesticides, synthetic ingredients, and other non-nutritional additives. These circumstances have created a diet loaded with toxic substances, plaguing our systems and playing a significant role in the development of chronic disease.
Growing your own food helps you develop a deeper interest and understanding of what you eat and where it comes from, helping you make healthier choices.
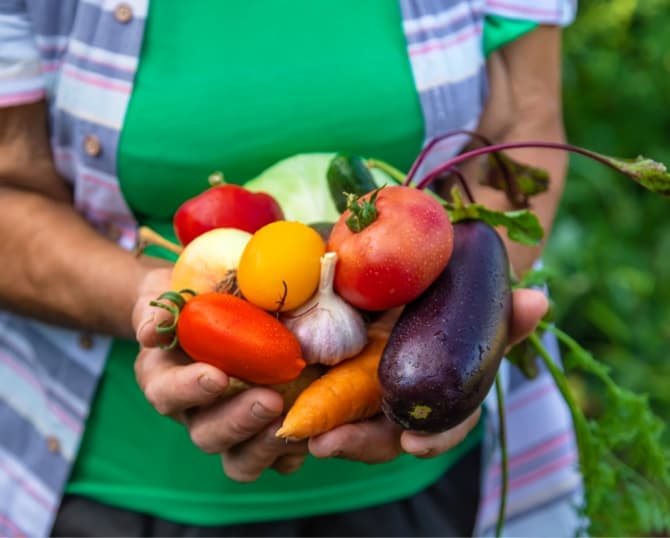
It helps you save money, while consistently eating a diet rich in nutritious foods - like fruits, vegetables, and herbs. These can be picked at their peak nutritional value and grown in fertilizer or compost of your choosing or creation – free of pesticides and other chemical additives. Many fruits and vegetables produce potent disease-fighting molecules when harvested that decline over time, so being able to eat them right away is a healthful bonus.
Exercise, another powerful tool in the prevention of disease, also becomes a consistent activity as you tend and harvest your garden, enhancing Vitamin D production as you expose yourself to the sun – critical to immune function. With the combination of sunshine, exercise, and nutrients gained from growing your own food, it’s no wonder it has such exponential benefits regarding health.
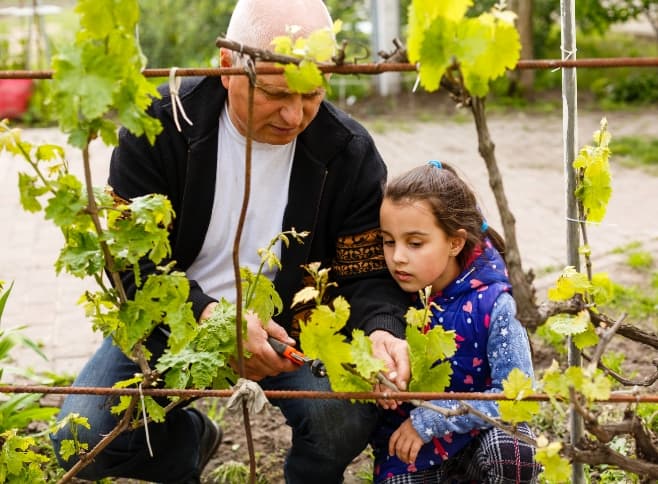
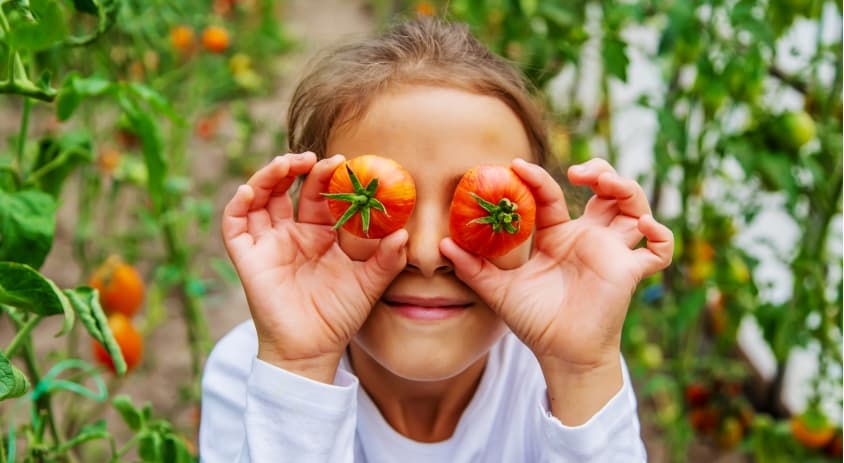
Gardening Helps Enhance Children’s Overall Wellbeing
Children can also greatly benefit from learning to grow their own food. It has been shown to have a therapeutic influence on children as they practice and develop a sense of self-confidence and responsibility learning to care for their food. It also fosters their social development as they engage with others learning to care for their garden.
Importance and benefits of
gardening with children

Empower
A Guide to Growing a Healthy Garden
Here you'll find information about:
Make the best of your location; Plan garden's layout; Focus on recommended varieties; Use good seeds, plants, supplies and equipment; Use proper soil care and preparation; Optimize planting technique; Minimize weeds; Pest control; Water properly; Optimize harvest; Preserving surplus harvest; Freezing; Canning; Pickling; Drying (Dehydration); & Storage.
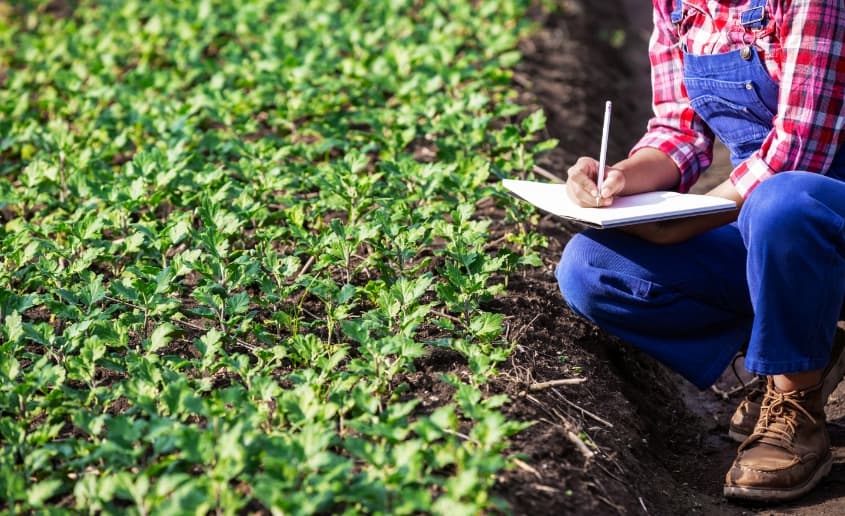
Make the best of your location
It is important to ensure that you are making the best of your location. Local Extension service offices can be an excellent resource for relevant gardening information as it relates to your local area. These Extension service offices work closely with agricultural experts to help provide locals with information related to the best gardening practices for their area. These services can be incredibly helpful in maximizing the quality of your garden.
Location Specifics for Garden Preparation:
| Healthy Soil | Loose, level, well-drained and fertile. Avoid high concentrations of sand and clay. |
| Sunlight | Proper exposure allows for high-quality. Some plants are more sensitive to sunlight and will require more shade. |
| Water Supply | Proximity and daily supply. Consider the use of rain barrels (*Be sure to check with local ordinances and regulations before collecting rain water). |
| Presence of Shrubs and Trees | Shrubs and trees compete for nutrients. Some can be toxic to your garden. |
| Proximity to Home | The closer to home the easier the harvest. |
| Landscape | Let your garden fit in with your properties landscape. Consider the garden’s relation to other shrubs, trees, roads and etc. |
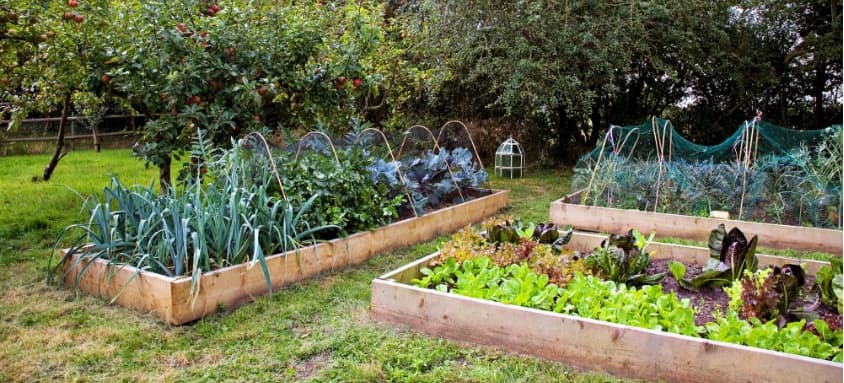
Plan Garden's Layout
Once a site for your garden has been selected, the next step is to plan out the layout. A great way to do this is to draw a map that indicates dates, spacing of the rows, and plant locations.
Below are important points to consider when mapping out your garden:
| Size | Considerations: Space available, number of crops you intend to grow, and the amount of effort you can dedicate. |
| Types of Crops | Select crops your family enjoys and suitable for the specific climate and situation. Prioritize space-saving crops if necessary. Such as: Beets, broccoli, cabbage, spinach, carrots, lettuce, peas, and onions. |
| Seasons and Growth Features | Group plants according to their growth patterns. Plant fast-maturing plants together so space can be used for another planting. Place tall crops North or West of shorter ones to avoid shading. |
| Row Spacing | Allow space for ease of growth, cultivation and harvest. Using stakes, mark out rows with a taut string tied between them. Determine space needed for each plant to grow and space them in uniform intervals along the row. |
| Consecutive Planting | Plan a continuous fresh supply of crops. Avoid planting too much of one crop at one time. Slow-growth crops can be planted in fast-growth plots after their harvest. |
| Interplanting | Maximize your space by considering natural growth patterns. Match slow-growth plants to fast-growth crops to help maximize yields and save space. |
| Crop Rotation | Rotate crops every year to avoid diseases that may have flourished in the soil over the winter. Wait a few years before re-planting in or near the same location. |
| Erosion | Soil wears away naturally and is exacerbated by human activity like watering, digging, and walking. Plant crops strategically and select species that help combat erosion, like those that cause minimal soil disturbance. A thick 2-3in layer of mulch, with chunky bark may help stabilize the soil. Utilize ditches, drains, barrels and other diversion techniques for the drainage, capture and/or storage of runoff. Avoid planting on hills - if necessary, plant across the slope and not up and down. |
Focus on Recommended Varieties
Being selective with crops is important because it helps maximize yield, quality, nutritional value, and disease resistance. It is best to utilize varieties with a reputation for; doing well in your area. Also focus on those crops that your family will make the best use of, and which crops you can successfully garden given your current circumstances.
One way to enhance your garden is to try planting 1-2 new varieties annually and compare their growth performance with former favorites to help you select the best options each year.
Use the guides below to get an idea of which varieties would be best for your gardening restrictions and goals:
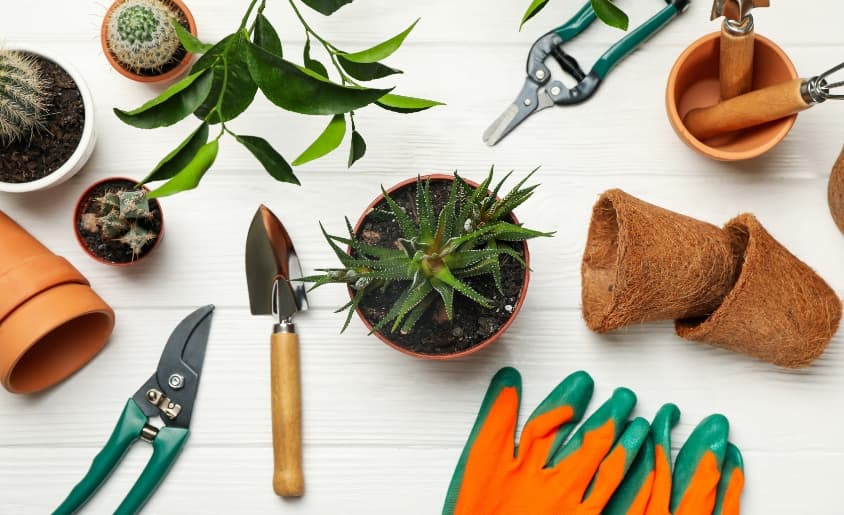
Use good seeds, plants, supplies and equipment
Be prepared! During the off-season, set aside the time to take an inventory of your supplies and equipment to gather what you will need for a successful growing season. Try to purchase supplies, plants, and seeds locally to help enhance yields. Use crops friendly to your environment because it helps support your local community.
| Seeds | Fresh, viable, clean and free from disease. Avoid using seeds older than a year. |
| Plants | Select healthy, strong, pest-free, strong rooted plants. Some plants grow best starting indoors and then transplanting when they are about medium-sized. |
| Equipment | Some essential tools are a shovel, rake, measuring stick, hoe, trowel, and planting line. Depending on how large your garden is you may need to consider additional tools such as a wheel hoe or a seed drill. |
| Supplies | Be prepared for pest-control. Focus on organic, all-natural solutions to enhance food quality and limit toxicity of the crops and environment. Understand which supplies are going to be needed for the crops you have chosen to grow. Planting supplies include things like pots, stakes and mulching material. |
Use proper soil care and preparation
To maximize the quality of your crops and for your garden to grow properly, you need to utilize soil that is providing the appropriate amount of water and nutrients to the plants. The soil should be prepared before planting to help enhance the yield and nutritional value of your harvest. Balancing the acidity of your soil by using lime, or adding things like fertilizer and organic matter, such as compost or manure, can also help to improve the quality.
Good soil is loose, easy to work with, and has good water-capacity and drainage. It is important, especially with a first planting, to have your soil tested. This will inform you of the quality of your soil and what nutrients may be lacking, to help determine what needs to be added.
Plowing or tilling the soil should be done in the spring or fall and when soil conditions are not too wet. Fertilizer should be added before and during planting, using a hoe, a plow or a tiller, and should be integrated into the soil surface a few inches from the side of a row of plants. Along with the fertilizer, lime can be added to help balance soil that is too acidic, and sulfur for those that are too alkaline.
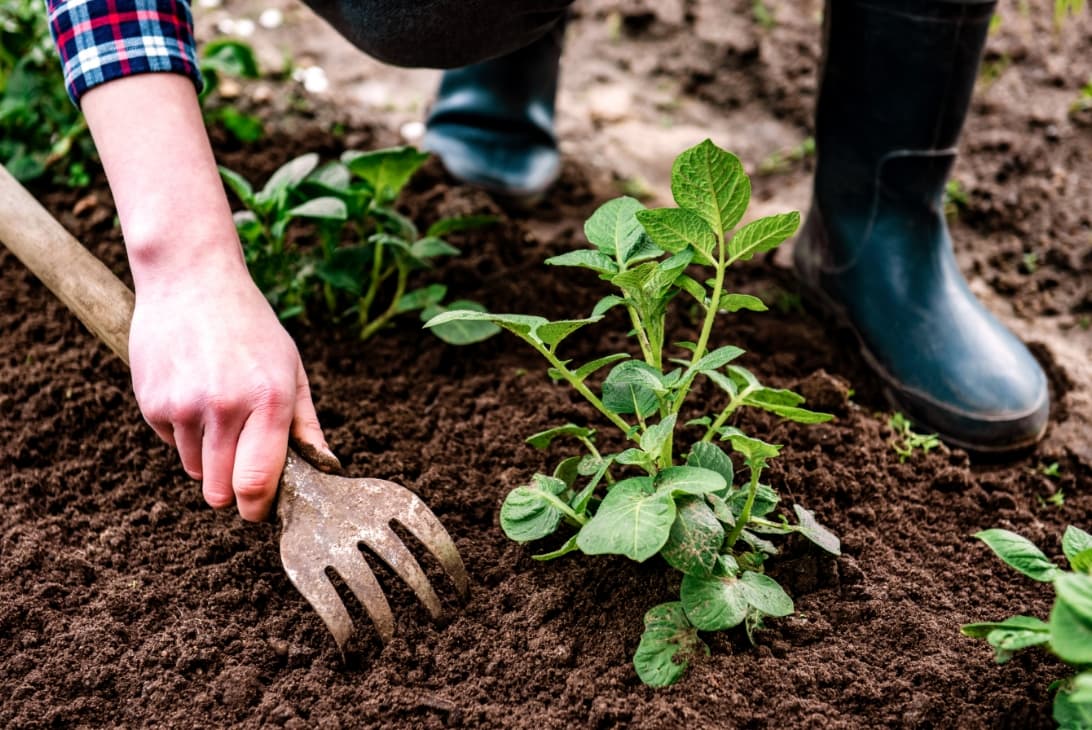
Optimize planting technique
Growing a successful, healthy garden depends heavily on how and when you plant your crops. Oftentimes your climate will dictate the “when” and the type of plants you are growing will dictate the “how”. Some plants can withstand exposure to frost, while others can’t. Make sure you have mapped out your garden, prepared the planting areas, and are utilizing fresh, viable, disease-free seeds.
Refer to these “When to Plant Vegetables” and “Frost Dates” calendar resources that allow you to enter your zip-code to see the growing season for your local area to plan the best time to start planting:
Make sure seeds are planted at proper depths - at about four times the seed's diameter about an inch to two inches - and that the soil is lightly pressed down around the seed to prevent water from washing it away. Larger seeds will be sown deeper than smaller ones and in dry or sandy soil, they should be planted a bit deeper than in general. Remove those plants that are weak or injured to avoid overcrowding and disease.
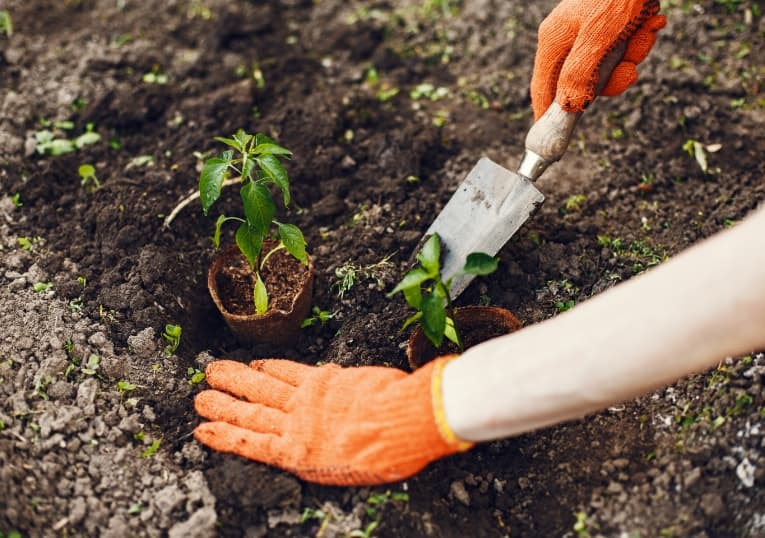
Transplants are used with plants that do best when started indoors. Plants such as broccoli, pepper, eggplant, tomato, and cabbage, are more effectively grown indoors to start and then transplanting them to your garden later when they are sturdy and healthy enough. Thoroughly water the plants about an hour before transplanting to help keep roots moist, and without disturbing the roots, remove the plants from their starter pots and transplant to an appropriate hole and space in your garden.
Plant protectors help to protect your plants from the elements, such as heat, wind and frost. These can be purchased or homemade from boxes, baskets or jars. These should be removed periodically to help reduce the temperature and help the plants receive proper ventilation.
Minimize Weeds
Weeds are dangerous because they compete with your crops for water and nutrients and can also be harbingers of pests and diseases. Make sure to remove them as soon as possible, the larger they get, the more likely they are to impede the growth of your plants.
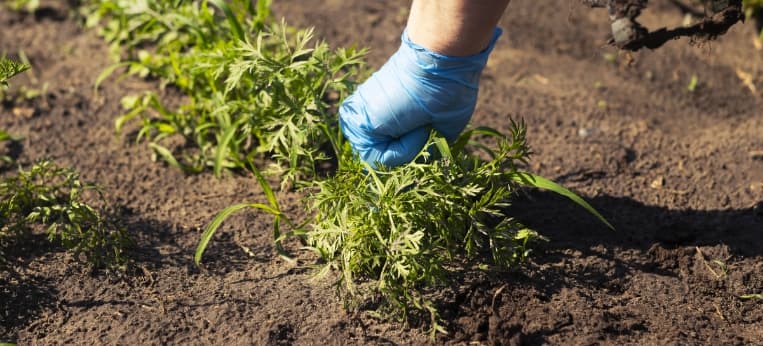
Below are some potential ways to minimize weeds in your garden:
- Use a hoe/cultivator and begin as soon as weeds appear.
- Take caution not to destroy crop roots that often are near to the surface.
- Using protective material to cover the soil around the crops.
- Also helpful at preserving moisture and maintaining soil temperature.
- Mulch options: Black paper or plastic, grass clippings, leaves, sawdust, straw, ground corncob, and sawdust
- Monitor for signs of nitrogen deficiency, yellowing leaves, if mulch was not supplemented with it prior.
- Not recommended for small gardens and can be detrimental to your health and the environment.
- Consult with local garden centers for products recommended for use in your area.
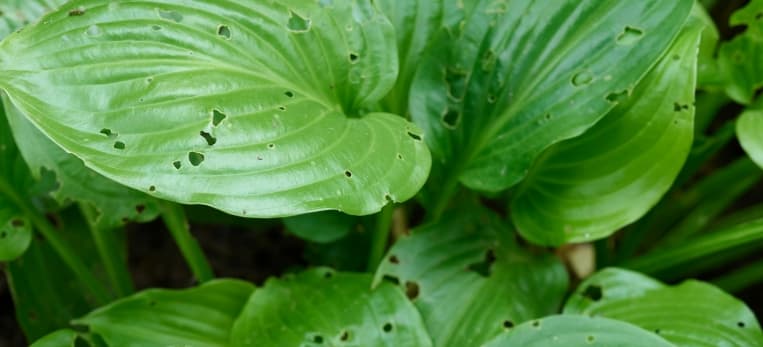
Pest Control
It is important to take precautions to protect your garden from pests before they become a problem. Pests can bring in disease and devastate the quality and yield of your crops. Below are some safe, effective and economic recommendations you can take into consideration to help protect your garden from infestation:
- Anticipate infestation problems
- Plow or dig up garden a few weeks prior to planting to help remove weeds, decaying roots and expose insects to cold weather and predators
- Have soil tested regularly to help maintain healthy levels
- Make sure plants and seeds are disease-free before being introduced into your garden
- Inspect all parts of plants regularly
- Make use of physical barriers such as insect mesh or plant covers
- Avoid overcrowding and grouping similar crops near each other to prevent spread
- Rotate crops to avoid planting a specific crop in the same space yearly
- Provide proper drainage
- Avoid overwatering and letting plants stay wet overnight
- Plant as early as possible
- Interplanting - take advantage of some of the natural pest repellent abilities of some plants, particularly herbs such as rosemary, catnip and basil
- Don’t plant seeds too deep to avoid rot
- Maintain weed control
- Keep garden well maintained and free of debris
- Prioritize pest control measures that are non-toxic and safe to your health and the environment – avoid chemical repellants and insecticides.
- Harvest as early as possible – overripe crops tend to be more attractive to insects
- When appropriate, burn off old plant residue
- Select varieties best suited to your area
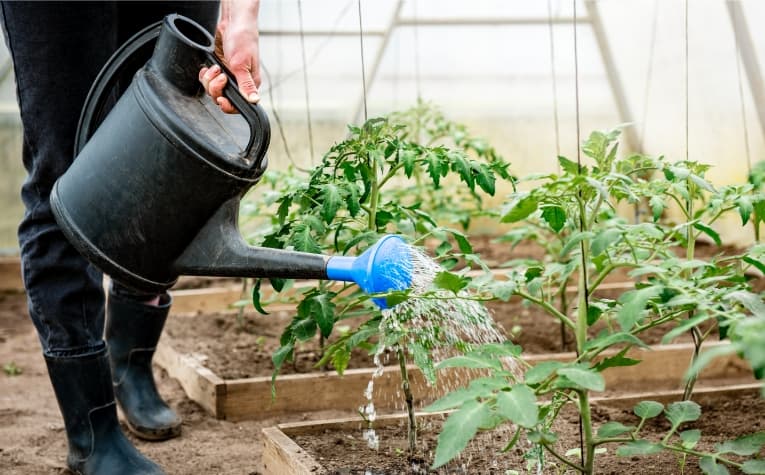
Water properly
Although rainfall can be a good source of water for your crops, even the most drought-resistant plants require a regular supply of water. When a plant’s roots dry-out they become stressed, and their growth is hindered. Wilting leaves are a sure-tell sign of dried roots, and it is important to not wait and get the plants watered immediately.
It is best to water plants early in the day to give them time to properly absorb what they need to help prepare them for the heat of the day.
Below are some conditions to pay attention to that may cause an increase in a crops water demand:
- Windy or breezy days
- Increases in temperature from the previous day of more than 10 degrees
- Potted plants require more frequent watering than those in-ground
- Plants next to walls that reflect heat and sunlight
Review the pros and cons of various watering systems and choose the one that works best for your situation. Hand watering is always a valid technique given it is done properly. It is important to aim for the base of the plant and the goal is to soak the area, after a few weeks, you can broaden the watering radius to account for root expansion. You may also consider installing effective systems such as soaker hoses and drip irrigation.
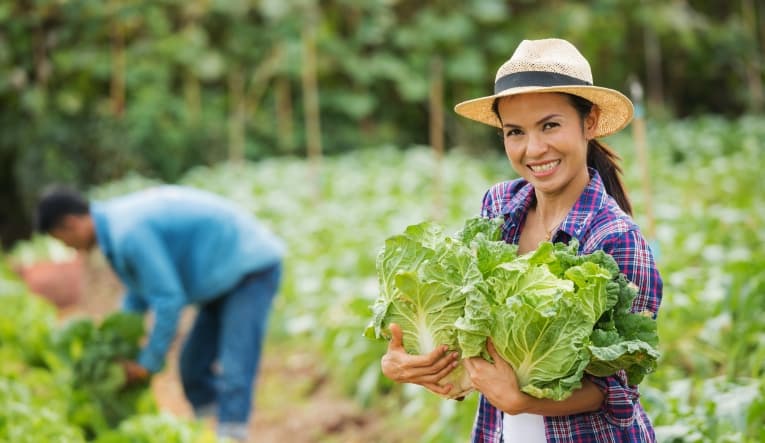
Optimize harvest
Once harvested, the quality of your crops begins to decline, so it is best to harvest when properly matured at peak flavor and nutrition. Each crop will have its own unique period of peak harvest. Research the crops you choose to grow and determine when you need to harvest for maximum quality.
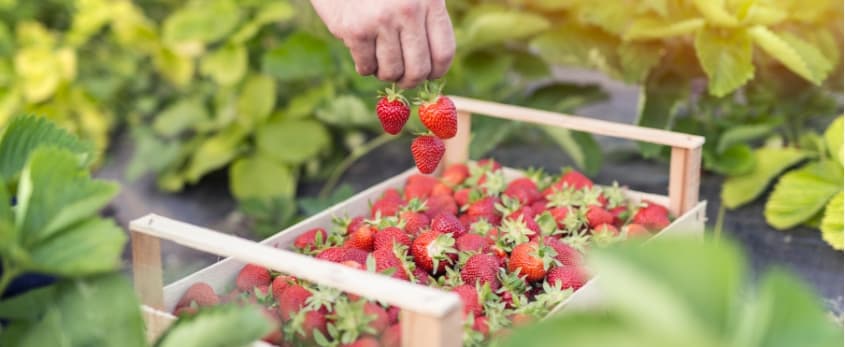
Below are some tips and guides to help optimize your harvest:
- Damage to crops promotes decay, so handle them carefully
- Avoid breaking stems or stepping on vines because this can expose the crop to and promote disease
- If necessary, be prepared to preserve any excess harvest. Methods such as cooling, canning and pickling. Harvest during dry periods – wet foliage can spread disease
- Check regularly for ripening crops
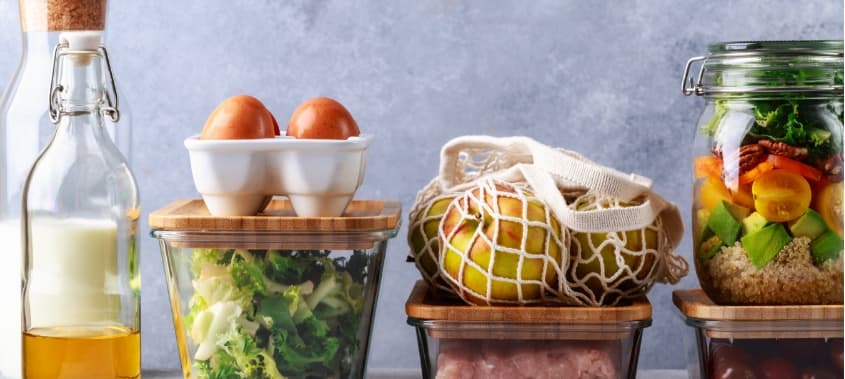
Preserving surplus harvest
A healthy garden will undoubtedly produce a bountiful harvest and unless you can eat everything relatively soon, it is important to be prepared to preserve the excess to avoid spoilage and waste.
General Preservation Guides:
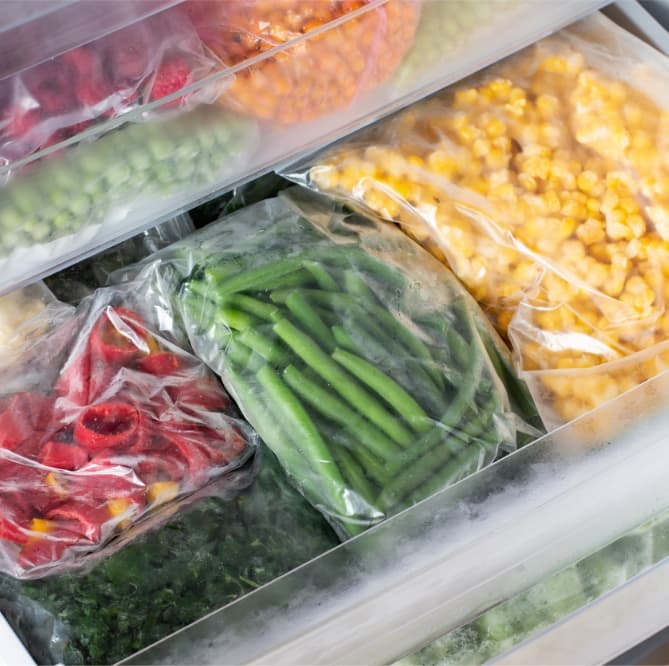
Freezing
Freezing is one of the best and easiest ways to preserve the nutrients of your harvest. It is most suited for crops that are generally cooked before eating and not those typically eaten raw. It is important to research what is best for each product of your harvest to make sure to maximize the nutrients you preserve from your harvest.
The best time to freeze your crops is just prior to peak ripening and avoid freezing damaged or bruised items. Most crops will require blanching in steam or boiling water for up to 3 minutes followed by a quick cool-down in ice water prior to freezing. This blanching process helps halt the development of nutrient depleting enzymes that leave your food deprived of taste, nutrients and color.
Utilize a container best suited for long-term cold storage such as vacuum sealed plastic bags or containers. Vacuum sealing helps to prevent frost buildup and keeps the vegetables fresher longer.
Canning
Canning is a more involved way of preserving your crops for later use. Each step should be followed closely to avoid the development of harmful bacteria and extend the shelf-life of your stored crops. Like with the freezing process, it is important to stop the activity of nutrient, depleting enzymes prior to canning by heating to a high enough temperature that will also help destroy harmful microorganisms.
Canning involves sealing your foods in a glass jar and either using a water bath for highly acidic foods such as jellies or jams or pressure canning for low-acidic items such as beans and vegetables.
Some important points are to utilize mature, tender, clean crops and pack in standard canning jars with all air bubbles removed. If a jar is sealed, it will have a concave lid. Canned food can be stored in dry, dark areas for up to a year and a half!
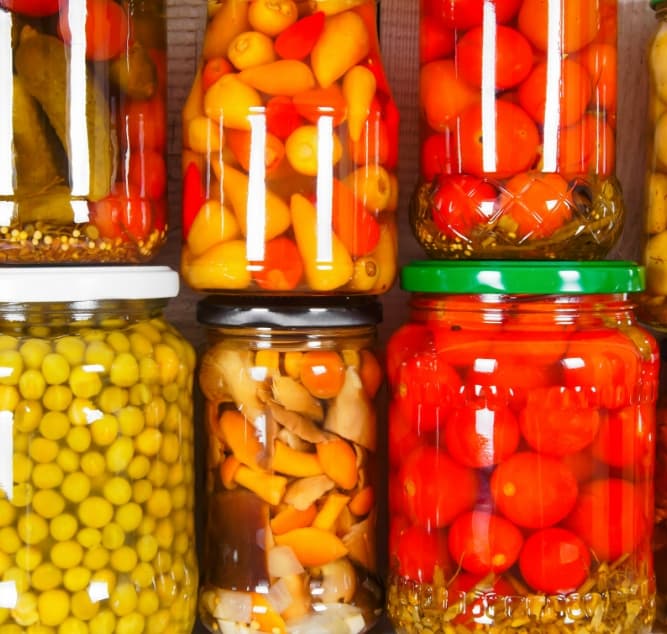
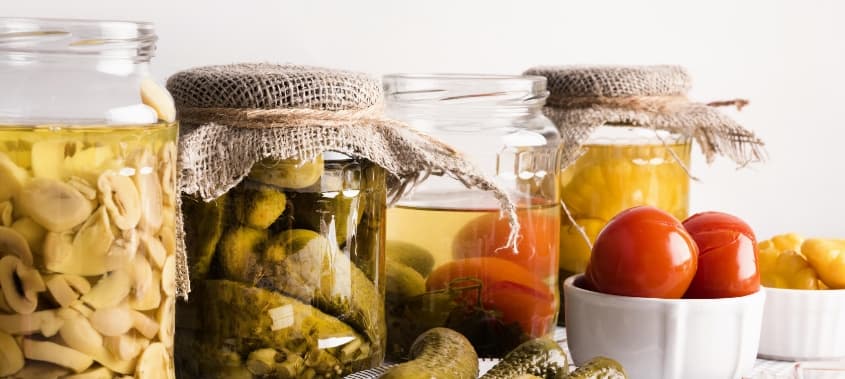
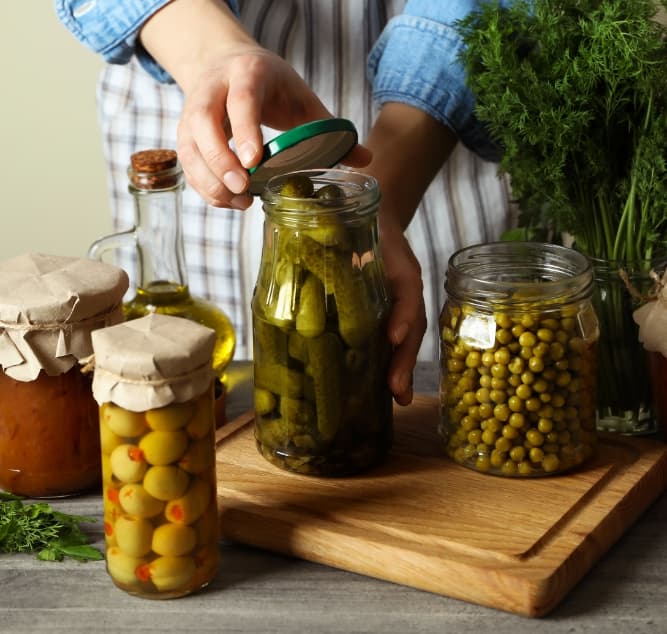
Pickling
When people hear pickling, they typically assume you are talking about making pickles, pickled cucumbers, but there are a variety of vegetables that can be pickled, such as beans, tomatoes, carrots and beets! In fact, pickling is an effective, time-tested method that goes back over 4,000 years to Mesopotamian times.
Pickling differs from canning in the use of a brine, a boiled mixture of vinegar, pepper, salt, or sugar, to help preserve the food. It involves arranging your food in glass jars, adding the seasoning of your choice, covering them with the boiled brine, and sealing the jar securely once it has cooled. Some common seasoning choices are turmeric, dill, jalapeno, mustard seeds, and cumin.
Refer to the guides below for further information and resources to get you started with pickling today!
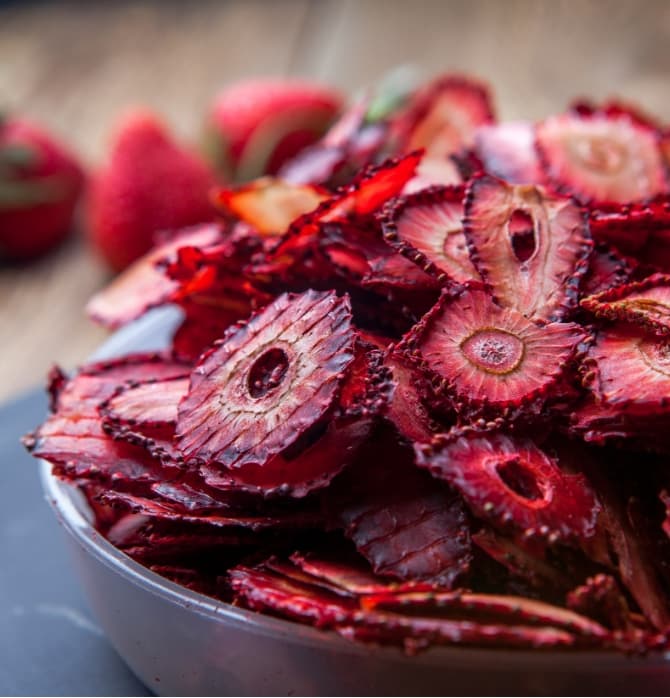
Drying (Dehydration)
Drying or dehydration of your excess harvest can be done in many ways and helps keep your food nutritious, easily stored and rehydrated for use in future recipes such as soups, stews and casseroles.
Since dehydrated foods are more lightweight, they are optimal choices for convenient on-the-go, high-energy, nutritious snacks. For example, fruits can be dried and rolled up into rolls or flattened into leather-type chews.
Drying can be done using methods as simple and free as bright sunlight or hanging vegetables in a cool, dry room, to more technological and cost-involved methods such as a drying oven or an electric dryer.
Don’t be afraid to try different methods and determine which will work best for you. It is up to you which method of drying is going to work best for your situation. See the links below for some further information on how to start dehydrating your own fruits and vegetables:
Storage
When considering storing your produce the major factors are temperature and humidity. Different fruits and vegetables will require different optimal storage environments. It is best to be prepared prior to harvest to meet these storage requirements for all your harvest to help avoid waste and spoilage.
General Temperature and Humidity storage conditions:
| Conditions | Temperature | Humidity |
|---|---|---|
| Cool and Dry | 50-60°F | 60-70% |
| *Cool and Moist | 50-60°F | 80-95% |
| Cool and Dry | 32-40°F | 60-70% |
| Cool and Moist | 32-40°F | 80-95% |
| Warm and Dry | 55-60°F * | 60-70% |
| Warm and Moist | 55-60°F * | 80-95% |
* Difficult to maintain, expect short storage times.
Some produce, such as potatoes and squash, can be store for as long as a year in clean, cool locations. Others, like beets, carrots and other root crops, can store successfully in sand-filled containers. Conveniently, in cooler climates, during winter months, root crops can be stored in the ground with an appropriate covering of mulch such as straw or leaves. Some common storage options include basements, refrigerators and root cellars. Make sure to consistently monitor temperature and humidity to always ensure optimum storage conditions.
- Basements are great options because they are generally cool and dry spaces. It is important that if storing your harvest in basements you provide adequate ventilation and protection from rodents and pests.
- Refrigerators provide cold, dry storage environments and are most ideal for long-term storage of primarily onions and garlic. Most vegetables don’t last very long in the refrigerator, and should be stored in ventilated containers to prevent the growth of bacteria or mold.
- Root Cellars offer cold, moist environments for storage and utilizing materials such as wood shavings, hay or straw can help provide insulation. Make sure to only use insulation material that is clean and pesticide-free. Like basements, ventilation and humidity are important considerations as well as rodents and pests.
Engage
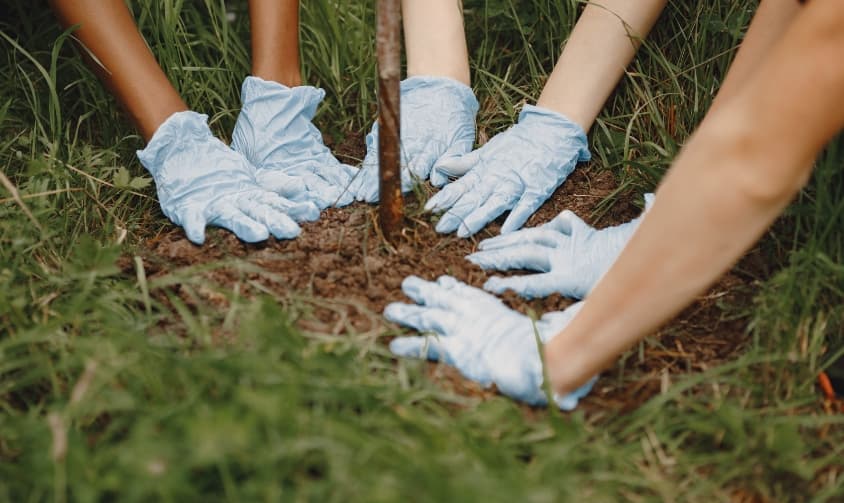
Community Gardening
Community gardens are shared spaces where local people come together to collaborate in the maintenance, cultivation, and harvest of a garden. For those without space available to create their own garden, these offer an excellent solution.
Please consider getting involved with or starting your own community garden today to help enrich your life and your community!
There are countless benefits to a community garden, some examples are:
- Improve local air and soil quality
- Improve the appearance of vacant lots
- Inspire community engagement
- Increase physical activity
- Reduce stress – promote relaxation
- Enrich diet with fresh, sustainable, local produce
- Decrease risk of obesity and obesity-linked diseases
- Increase biodiversity of local flora and fauna
- Reduce local waste via increased composting
- Enhanced food security
- Decrease crime rates
- Increase property value
Check out these websites to help start and/or locate a community garden near you:
Resources:

Support the cause
Donations raised will support our efforts to educate the American public and political leaders.